... about now, for later

Tag: freeinquiry

Free Inquiry: Week 4

My above view filming set-up

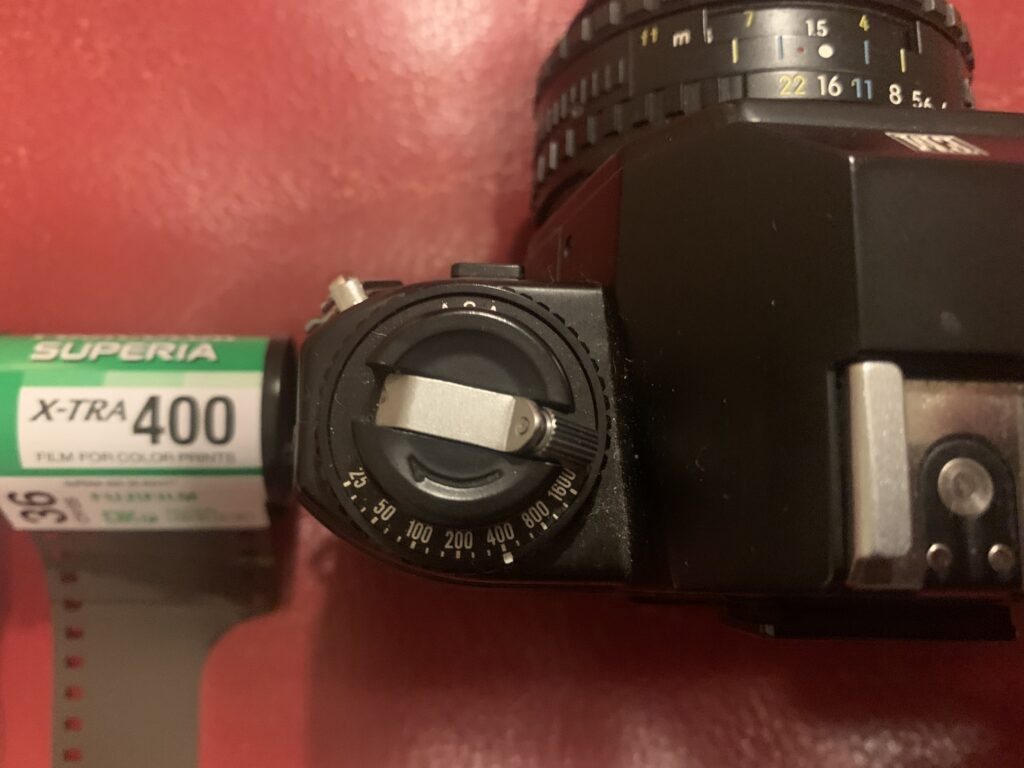
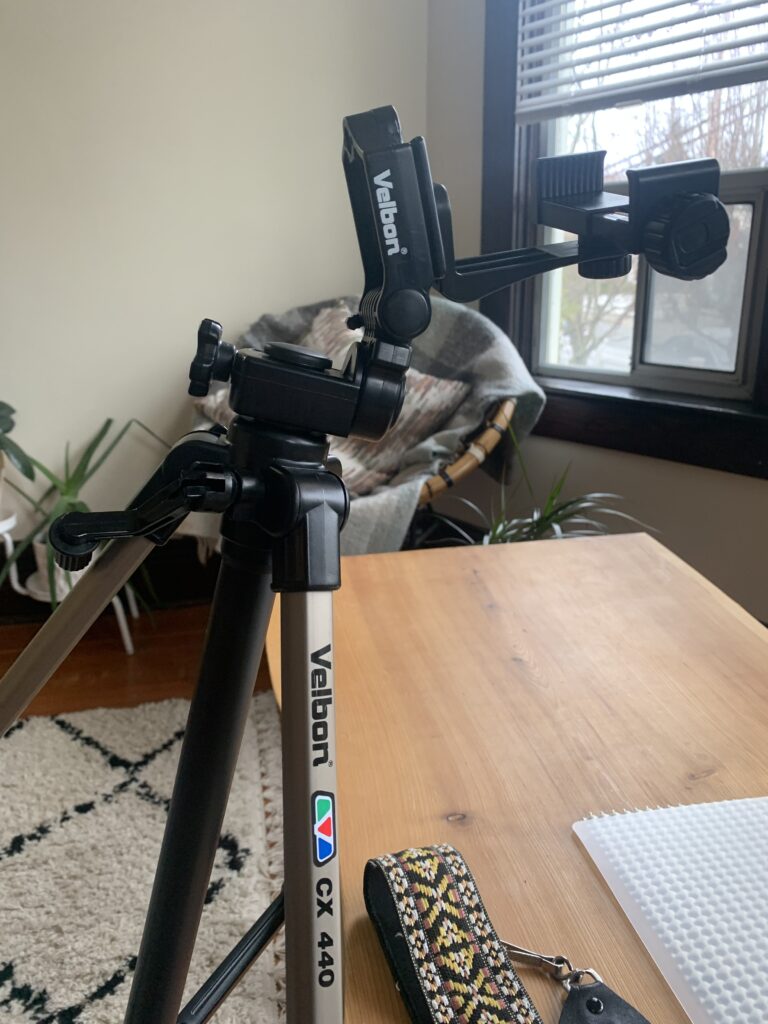
I am ready to start shooting some photos! I used my tripod for the first time, but what was mounted on it wasn’t even my film camera…Instead, it was the phone holster I purchased; an attachment that screws into the same 1/4″ hole that holds my EM, and can be used to take portraits or videos requiring the phone to be stationary. I got it exactly for this purpose and I am so happy to say that I succeed in making a short video about how to load my film camera.

I watched similar videos when I was learning how to load film myself, and I have watched others that have helped me learn how to draw graffiti. I found the bird’s eye view to be very helpful. I set up a little space by my place that had a lot of natural light and pressed ‘record’. With this video—and some helpful for pre-shoot essentials detailed in my last post—someone with a Nikon EM or similar single-lens relflex (SLR) film camera should be equipped to begin the journey of film photography!

I created a YouTube channel and posted my first video!

I used iMovie to edit this video and did it all on my iPhone. It was a very fun experience and turned out to be much easier than I anticipated. I thought it was very neat that iMovie lets one include photos and video clips within the movie; for the photo in the title sequence, it even put in cool fade effect by itself. I was able to easily make a simple title and transition into my clip. I did it all in one take so I didn’t have to do too much editing, but next time if I have to I’ll be more comfortable.

I think I could have done a better job showing how to get the film into the slot of the advance roller (3:00 – 3:11). I was looking at my phone the whole time to make sure I was getting everything in the frame, but since that’s the most precise part of the loading process I must have been focusing a bit too much on my work rather than how it was appearing in the video.

Next week, I think I’ll do another video about how to use the self-timer feature on the film camera and take a head shot. Happy shooting!

Pre-shoot: aperture, focus and shutter speed

The first film photos I ever took were not of publishable quality, but I told myself that film photography is an inherently imprecise art and that I should be happy with whatever outcome. I am lucky to have a friend who has been a guide throughout my few years of shooting film and just as he tutored me about these three integral components of film photography, I will try to impart some of that wisdom in this blog post.

Shutter speed: This is a setting to control how fast the shutter opens/closes to let the light into the compartment containing the light-sensitive film. For more on the shutter’s location in the camera, see the video embedded in my first inquiry blog post. After your film canister is loaded into the camera and before you take and pictures, make sure to set the ASA dial to the film speed labelled on the packaging. For the film I am about to load, I will set it to 400.

400 ASA is the film speed, or the film’s sensitivity to light. This film speed is recommended for general, all-purpose photography, which I why I have used it for most of my shooting (along with black & white occasionally, which I have found even more forgiving). My Nikon EM was designed for novice photographers, so this is really the only crucial setting that the user must be sure to fulfill before taking any photos.

Aperture: The smaller the f-stop number, the larger the opening. The higher the number, the smaller the opening. A large opening means more light gets into the camera; so if I was shooting in bright daylight, I would select a large number (a higher f-stop, say f/22). My Nikon EM operates on aperture priority mode; it is a semi-automatic film camera that has a light meter and a battery, automatically adjusting the shutter speed to get the correct exposure. The EM manual describes this best. When looking through the viewfinder, the user will see a shutter speed scale on the left. Numbers correspond to fractions of a second, or how long the shutter remains open to expose the film to light 1000=1/1000 sec.

Excerpt from Nikon EM Owner’s Manual

The red numbers on the bottom and the red zones indicate over or under exposure. What comes next here really shows how the EM is a beginners camera. The user can depress the shutter release button halfway down. That’s right, careful not to push it all the way down which would snap a picture, but just halfway to engage the mechanical aspects of this film camera.

This is the light meter, which will determine the correct aperture you need to use to get the optimally exposed shot. The camera will actually beep to warn the user if they are set to over-exposure. Toggle the lens aperture (in the above photo, mine is shown with the white dot, f/16) to stop the beeping. As you change aperture, the needle (#4 in above viewfinder diagram) will move up or down the shutter speed scale. Stop when you have selected an aperture that makes the needle stop as close as possible to the film speed that is loaded in your camera. Then . . .

Focus: This is the final piece. Turn the focus ring until the image in the field of the viewfinder appears sharp. If you’re shooting something close to you, the outer field (#7) should be sharp so that your subject appears on film as clearly as possible. The lens focusing ring can be seen in the picture of my camera above. The numbers above the f-stops are related to the focusing ring and should align with how near or far away the user is from the subject/object. This is the most natural part of the process since it is easier to see if your shot will turn out fuzzy or not; conversely, if the aperture is off your photo will be too bright or dark.

EM Owner’s Manual

Film photography

One of my hobbies is taking photos with my Nikon EM90, a 35mm, SLR (single lens reflex) film camera. I know enough about photography and the specifics of my camera to take shots of basic scenes with good lighting. I will use this inquiry mostly to learn how to utilize all the features of my specific camera, and to explore in detail the basics of film photography and the effects of different film types or lenses.

I am excited to begin this journey and have set out a preliminary outline of the topics I would like to research.

  • What do I need to know about aperture so that I can get the best quality shots?
  • How does my practice change if I attach a flash?
  • What changes to the camera’s settings will I have to make if I want to shoot moving targets as opposed to still scenes?
  • I have a new tripod I want to try, and I will be making a how-to video about setting it up with the camera.
  • Can is there a timer on my camera? If so, can I use it to take self portraits with my tripod and how will they look?
  • How is film developed? What is the difference between developing black & white as opposed to colour film? Is there a space at the university where I can try it out?
  • How does one scan the negatives to digitize them? I have a friend (who got me into film) who has a scanner, and I would like to try it out and document the process.

For now, I will leave you with this video that explains a single lens reflex (SLR) camera.