Kids want to solve real world problems! Wouldn’t you also rather design a solution for a real problem rather than a project for the sake of an assignment?

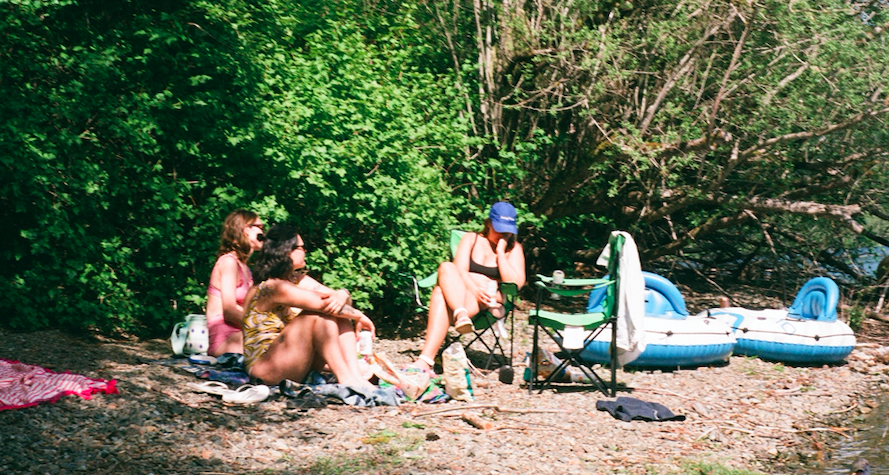
Kevin and I are wondering how to carry our cold drink cans with us hands free when we are cycling or camping. Well let’s take a look at the process of brainstorming to design to fabrication to presentation and how this could look in an elementary or middle school classroom.
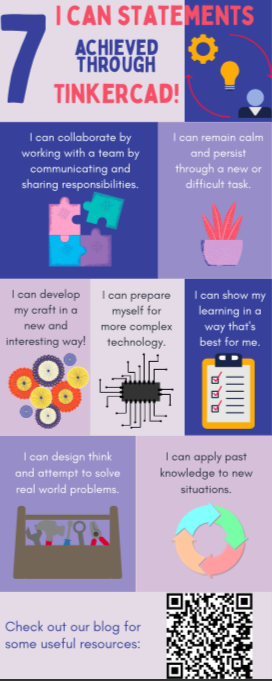
Under the “New” BC curriculum there is an emphasis on constructivism and inquiry-based learning, which begs to be supported by design and building such as that offered by Tinkercad. By encouraging cross-curricular learning in a Makerspace environment, kids can grow their core competencies of critical thinking, problem solving, collaborative learning, active listening, communication, & creative thinking, through project based inquiry.
Here is a suggested process of introducing Tinkercad to your classroom—adapted from Instructables.com. Check out my colleague Elizabeth’s post as well!
- Get to know Tools yourself (Tinkercad, +/- Fusion 360, +/- 3D printer)
- It will be easier to help students when they encounter difficulties if you know the program and have already worked them out.
- Set up classroom for tinkercad
- computers, 3D software, internet, +/- mice
- Other useful tools include Makerspace materials, such as clay, popsicle sticks, glue, toothpicks, pipe cleaners, string, recyclable products & blocks for prototyping designs and brainstorming.
- Move from a 2D lens to a 3D lens when looking at your curriculum
- Look for opportunities to enhance learning by linking curriculum topics to core competencies and ASDT curriculum through cross-curricular projects with problem solving and design components.
- Explore with students the tinkercad gallery or Thingiverse (sharing design files) to get started.
- Watch videos of Tinkercad enthusiasts.
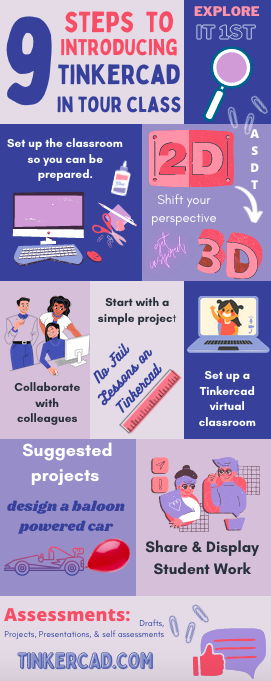
- Collaborate with colleagues!
- If another educator has valuable experience in using Tinkercad, ask them to showcase their design knowledge once you’ve scaffolded the students with the necessary factual information.
- Use Makerspace time to expand cross-curricular projects and engage seamlessly with core-competencies. (see Alison Galloway St. Mike’s school)
- Start with a simple project. Don’t overthink it!
- Don’t write instructions, just co-create a rubric with students so they focus on their own creativity.
- Tinkercad features step-by-step no fail lessons such as: make a ruler & make a clock.
- If groups of students are designing their own board game then maybe only one student is working to make game pieces on Tinkercad (while others make the board, writing instructions, etc…)
- Set up a Tinkercad virtual classroom—Tutorial.
- Invite students to join
- Assign projects
- Collects work for evidence of learning
- Suggestions for Tinkercad projects to get you started:
- Design your own game piece or key chain
- Design a board game
- Design a maze
- Map an ideal classroom
- Recreate a lost family memento as a gift
- Design and race balloon powered (vehicles?)
- Solve real world problems (related to science, social studies, or your biggest pet peeve, etc…)
- Check out the Tinkercad blog!
After tinkering is done, be sure to:
- Share student work
- Project presentations
- Idea bulletin board with their designs, or
- 3D printing for displays
- Assess
- Self assessments at each stage
- Drafts by stage (ideas, designs, prototypes, redesigns, final products)
- Cumulative product or display for summative assessment with a brief reflection on the process, the challenges, and what lessons were learned
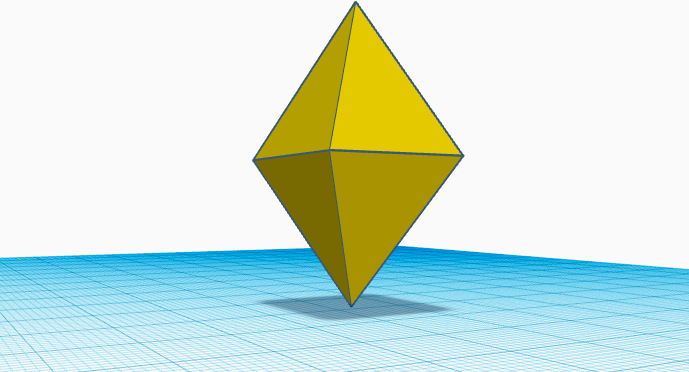
I tinkered with this little design. It was inspired by a carpenter friend who made a phone stand in his workshop out of off-cuts of wood. I imagine students making this follow a set of instruction I provide—maybe through my blog! If I notice a lot of my class has a personal device, I bet they would engage well with this task because it asks them to measure their device to put the stand together.
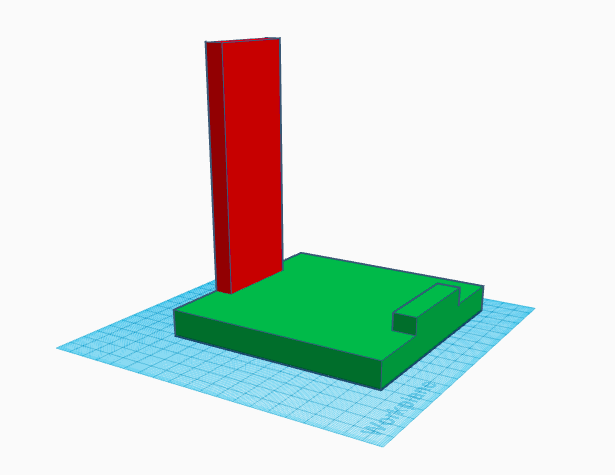
I can make this cross-curricular very easily. With the shapes still un-grouped—so they can see individual side measurements of all the shapes—they can make an accurate (labelled) sketch of all the dimensions. Then, they can imagine the bottom of their phone laying on the stand as the hypotenuse of a right angle triangle. I can ask that they verify a side length using the Pythagorean Theorum, and even calculate the area between the phone and the components of the stand using volume of a prism calculations. This is a useful activity because they have to subtract total width by the width of a smaller block to get a correct dimension, and then they can communicate how they came to a result, if it is accurate, and analyze sources of error and their strengths.
I hope this EdTech Inquiry proves helpful for other teachers learning how to integrate Tinkercad in their classroom! Take care.


