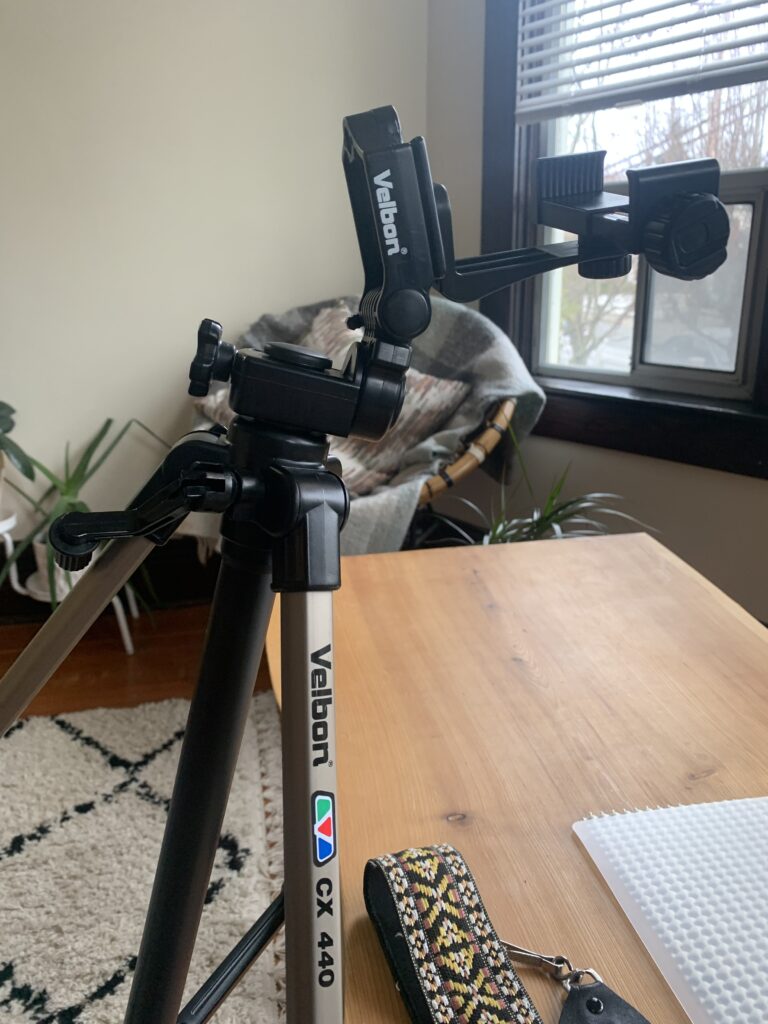
I am ready to start shooting some photos! I used my tripod for the first time, but what was mounted on it wasn’t even my film camera…Instead, it was the phone holster I purchased; an attachment that screws into the same 1/4″ hole that holds my EM, and can be used to take portraits or videos requiring the phone to be stationary. I got it exactly for this purpose and I am so happy to say that I succeed in making a short video about how to load my film camera.
I watched similar videos when I was learning how to load film myself, and I have watched others that have helped me learn how to draw graffiti. I found the bird’s eye view to be very helpful. I set up a little space by my place that had a lot of natural light and pressed ‘record’. With this video—and some helpful for pre-shoot essentials detailed in my last post—someone with a Nikon EM or similar single-lens relflex (SLR) film camera should be equipped to begin the journey of film photography!
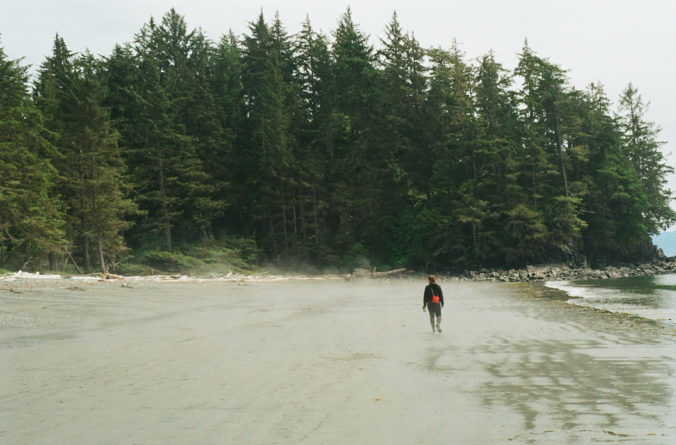
I used iMovie to edit this video and did it all on my iPhone. It was a very fun experience and turned out to be much easier than I anticipated. I thought it was very neat that iMovie lets one include photos and video clips within the movie; for the photo in the title sequence, it even put in cool fade effect by itself. I was able to easily make a simple title and transition into my clip. I did it all in one take so I didn’t have to do too much editing, but next time if I have to I’ll be more comfortable.
I think I could have done a better job showing how to get the film into the slot of the advance roller (3:00 – 3:11). I was looking at my phone the whole time to make sure I was getting everything in the frame, but since that’s the most precise part of the loading process I must have been focusing a bit too much on my work rather than how it was appearing in the video.
Next week, I think I’ll do another video about how to use the self-timer feature on the film camera and take a head shot. Happy shooting!

Great job on your first YouTube video! I found it really helpful to really see more of the camera you are using and how to load it – I think it helped me understand your project better. I especially thought the tone and pace of your voiceover was well done because you went slowly enough that it was easy to follow what you were talking about, but expressive enough that it was engaging. I also appreciated your reflection on how the editing went using iMovie and what you might do differently for future videos. I wonder how difficult it would be to include arrows or labels for future videos? I sometimes found it difficult to tell which elements of the camera you were referring to, but that may have been because I’m not familiar with cameras in general, and I get that creating labels for a video may take more time than it’s wortth.